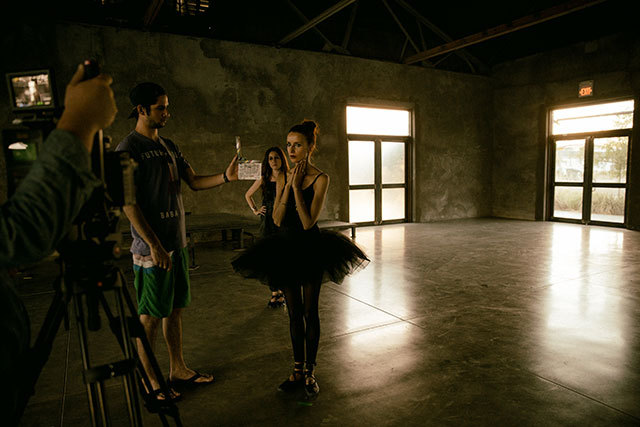
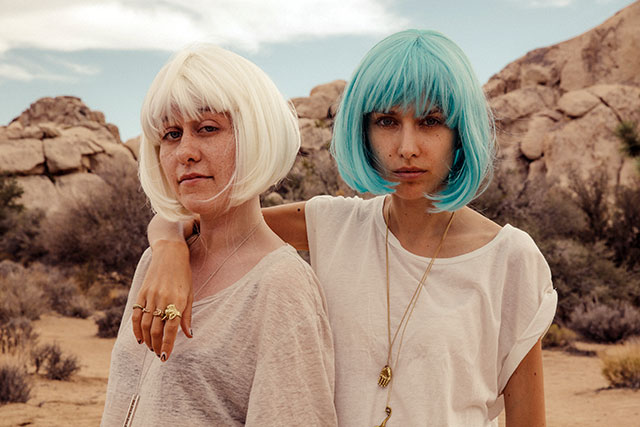
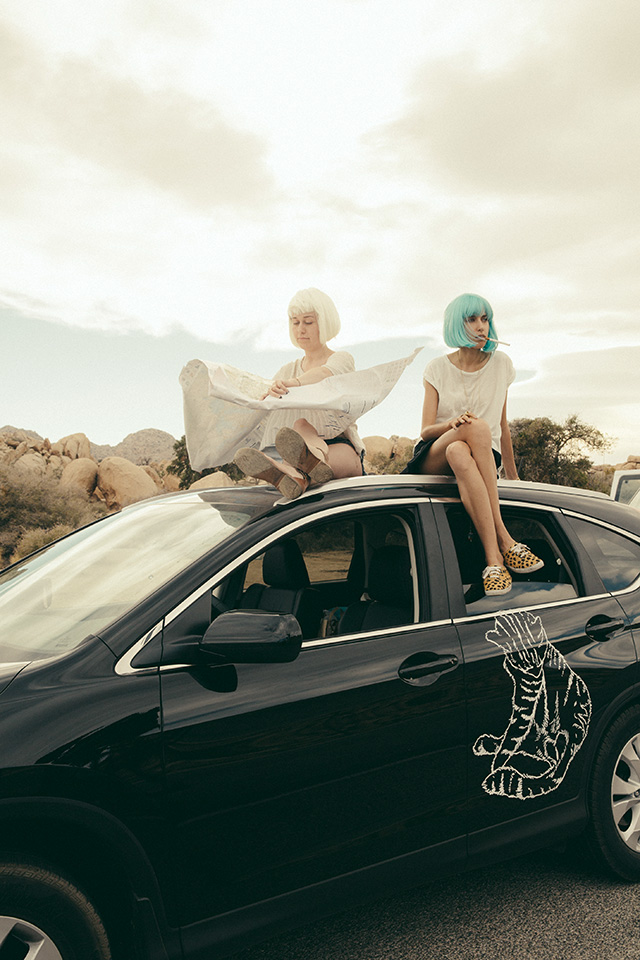
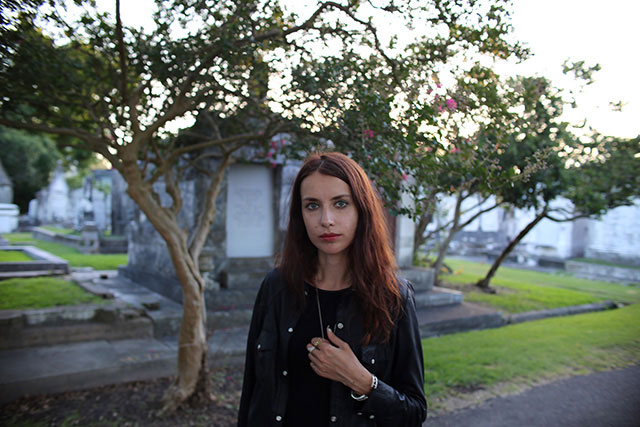
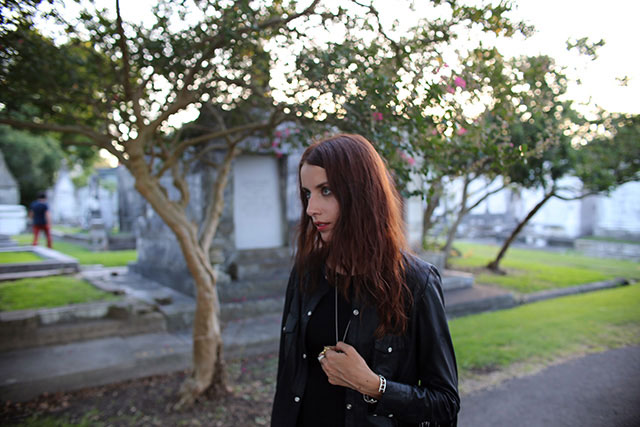
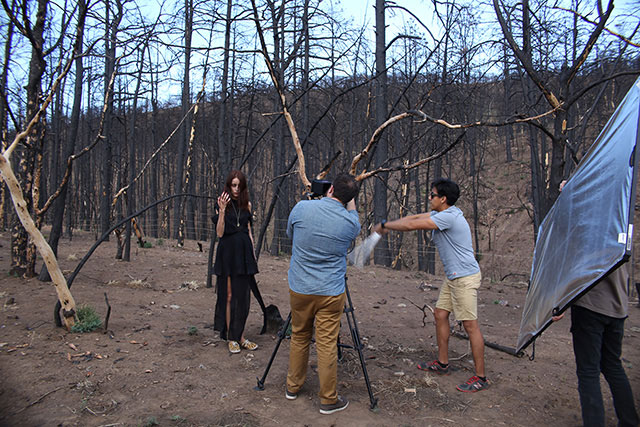
Directed, produced, written, costumes & starring Vera Meat.
Also starring Megan Nugent
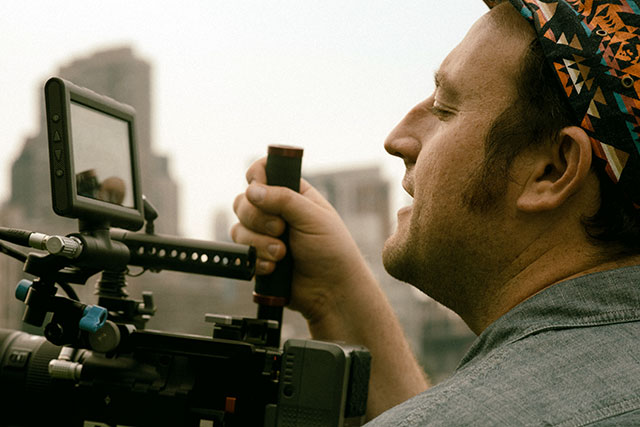
Cinematography by Dan Kanes
Produced by Eduardo Cardenas
Editor: Vanessa Roworth
Assistant Director: Ryan Glenn
Camera+ by Sharon Noa Kanes
Sound by Adam Catino
Gaffer: Philip Doucedame
Gaffer plus Actor: Spencer Reagan
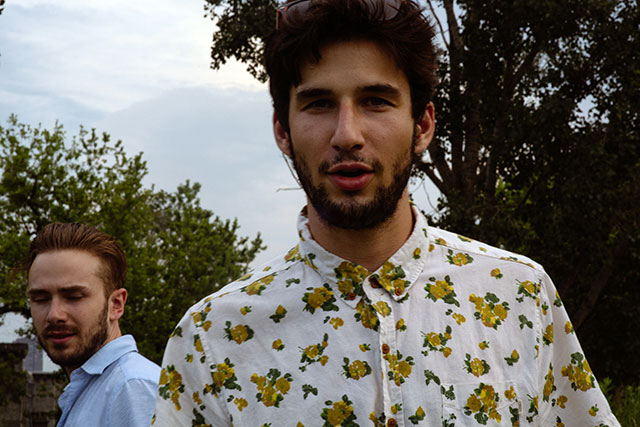
Actor Elias Comfort & actress Lexi Cunningham
Some makeup by Caitlin Wooters, Morgan Gates, Net & Nikki
Music by Fences. The song is called Fires.
VERAMEAT © 2014